Step-by-Step Guide to DIY Trash Bin Cleaning: Keep Your Home Healthy and Odor-Free

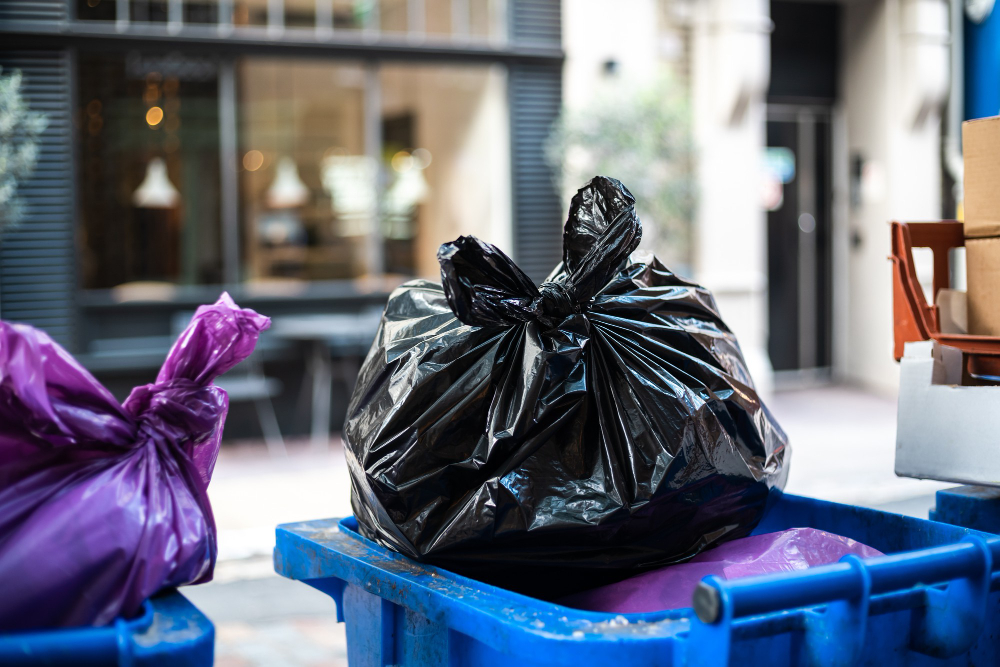
Trash bins are a fundamental part of daily life, yet they are often overlooked when it comes to household cleaning. While their primary role is to contain waste, bins can quickly become hotbeds for bacteria, mold, unpleasant odors, and pests if neglected. Many homeowners treat bin cleaning as optional, thinking that simply emptying the bins is sufficientbut a neglected bin can have serious health implications, attract vermin, and create an unhygienic environment.
DIY trash bin cleaning is not only cost-effective but also ensures your bins remain safe, sanitary, and odor-free. A clean bin reduces the risk of diseases, keeps pests at bay, and maintains a pleasant home environment. This comprehensive guide will walk you through everythingfrom preparation and cleaning to maintenance and preventionso your bins stay in top condition year-round.
Cleaning your trash bins may seem tedious, but the long-term benefits are well worth the effort. Not only will you protect your family and pets, but you will also preserve the appearance and longevity of your bins. By following the steps below, you can make trash bin maintenance an easy and manageable part of your household routine.
Why Trash Bins Require Regular Cleaning
Health Risks
Trash bins accumulate a mixture of organic matter, liquids, and food residues that create the perfect environment for bacterial and viral growth. Over time, this can lead to serious health issues:
- Foodborne illnesses: Bacteria such as coli or Salmonella thrive in dirty bins, posing a risk when food scraps are discarded improperly. Touching or handling bins without proper hygiene can transfer these pathogens to hands, countertops, and cooking surfaces.
- Respiratory problems: Mold spores and fungi can develop in damp bins, leading to respiratory issues, particularly in children, the elderly, and those with asthma or allergies.
- Allergic reactions: Dust, pollen, and mildew buildup inside bins can exacerbate allergies or trigger sneezing, skin irritation, and eye discomfort.
- Skin infections: Cuts or abrasions that come into contact with contaminated bins may result in infections, sometimes requiring medical attention.
Pets and children are especially vulnerable because they often touch bins or play nearby, making regular cleaning essential for their safety.
Odor Control
A dirty trash bin produces persistent odors that affect both indoor and outdoor spaces. Even after garbage pickup, unpleasant smells linger if the bin is not cleaned properly. Liquids leaking from trash bags, combined with decomposing organic matter, produce odors that intensify in hot weather and become more difficult to remove over time.
Regular cleaning ensures that your bins remain odor-free, making your home and outdoor areas more pleasant. Using natural deodorizers such as baking soda or essential oils can provide an extra layer of freshness while keeping chemicals to a minimum.
Pest Infestation
Neglected bins attract unwanted visitors: flies, maggots, ants, roaches, rodents, and even larger animals like raccoons or stray cats. These pests can spread disease, damage property, and even create long-term infestation problems. Dirty bins act as breeding grounds for maggots and insects, perpetuating a cycle of contamination that is difficult to break.
By keeping bins clean, homeowners can reduce the risk of pests and protect their homes from infestations. In addition, tightly sealing trash bags and maintaining bin hygiene discourages wildlife from frequenting your property.
Environmental and Property Impact
Dirty bins not only pose health risks but also affect neighborhood aesthetics and property value. Overflowing or foul-smelling bins can violate local sanitation regulations, leading to fines or complaints. Improper cleaning methods, such as pouring bleach or strong chemicals directly onto the ground, can cause harmful runoff that contaminates gardens, soil, or drainage systems.
Maintaining clean bins preserves your property’s appearance, demonstrates responsible waste management, and protects the environment.
Step 1: Gather Your Supplies
Preparation is key to effective DIY trash bin cleaning. Having all tools and cleaning agents ready ensures a smooth process.
Water Sources:
- Garden hose with adjustable spray nozzle for basic rinsing
- Pressure washer for tough buildup and stubborn grime
- Buckets for rinsing or mixing cleaning solutions
Cleaning Agents:
- Dish soap or degreasing liquid for general cleaning
- Baking soda to neutralize odors
- White vinegar as a natural disinfectant
- Household bleach for deep sanitization
Tools and Protective Gear:
- Long-handled scrub brush or broom
- Sponges or microfiber cloths for scrubbing corners
- Rubber gloves to protect hands
- Protective apron or old clothing
- Towels or rags for drying
Optional Enhancements:
- Enzyme-based cleaners for organic waste breakdown
- Trash bin liners for ongoing protection
- Commercial deodorizing products or essential oils
Gathering all supplies beforehand reduces interruptions and ensures a thorough cleaning process.
Step 2: Prepare Your Trash Bin
Empty the Bin
Remove all trash bags and inspect the bin for stuck debris, dried spills, or sticky residues. Ensuring the bin is completely empty allows you to access every corner for effective cleaning. For particularly messy bins, consider using a small handheld brush to remove caked-on grime before rinsing.
Choose the Right Location
Select a location with proper drainage to avoid flooding or water pooling. Ideal spots include:
- Driveways or concrete surfaces
- Back patios with drainage access
- Grassy areas where water won’t stagnate
Avoid cleaning over storm drains or areas where chemical runoff could contaminate water sources.
Safety Precautions
- Wear gloves and protective clothing
- Keep children and pets away from the area
- Ensure proper ventilation if using strong chemicals
Safety ensures that cleaning remains effective without putting yourself or others at risk.
Step 3: Initial Rinse
Rinse the bin thoroughly to remove loose debris and surface dirt:
- Spray the interior and exterior with water
- Focus on corners, seams, lid, handles, and wheels
- Use a pressure washer for tough grime if available
This step prepares the bin for deeper cleaning, loosening dirt and making scrubbing easier.
Step 4: Apply Cleaning Agents
Option 1 – Baking Soda and Vinegar
- Sprinkle baking soda throughout the bin
- Pour or spray white vinegar on top
- Allow 10–15 minutes for fizzing action to break down grime
This natural method effectively eliminates odors and mild stains without harsh chemicals.
Option 2 – Soap and Water
- Mix warm water with dish soap
- Apply to all surfaces, focusing on sticky residues and stains
- Let sit for 10–15 minutes
Allowing the cleaning agent to sit ensures it penetrates grime before scrubbing, making the process more effective.
Step 5: Scrubbing the Bin
Using a long-handled brush:
- Scrub interior walls, top to bottom
- Focus on corners and seams where residue accumulates
- Thoroughly clean the bottom, often the dirtiest area
- Scrub lid, handles, wheels, and exterior surfaces
For stubborn stains, repeat the cleaning process with extra solution or use a pressure washer. Pay attention to areas that are often overlooked, such as the lid crevices and wheel axles, which can harbor mold and grime.
Step 6: Deep Disinfection
For heavily soiled bins, disinfection is essential:
- Mix 1 part bleach with 10 parts water or use a commercial disinfectant
- Spray or pour over all surfaces
- Allow 10–20 minutes for sanitization
This kills bacteria, viruses, and mold while providing additional odor control. Always rinse thoroughly afterward to remove chemical residues.
Step 7: Final Rinse and Inspection
- Rinse all cleaning agents completely
- Check for leftover grime or odors
- Repeat scrubbing if necessary
Ensuring that water runs clear indicates no residue remains, which prevents attracting pests or lingering odors.
Step 8: Drying and Deodorizing
- Air-dry the bin, preferably in direct sunlight, which naturally sanitizes and eliminates odors
- Sprinkle baking soda at the bottom for ongoing freshness
- Optional: use essential oils, dryer sheets, or commercial deodorizers
Proper drying is crucial to prevent mold growth and future odor buildup. Avoid storing bins in damp or shaded areas immediately after cleaning.
Step 9: Regular Maintenance and Prevention
Proper Bagging
- Use sturdy, tear-resistant bags
- Double-bag wet or messy waste
- Avoid overfilling and tie bags securely
Cleaning Schedule
- Indoor bins: weekly or as needed
- Outdoor bins: monthly in mild climates, bi-weekly in hot months
Odor and Pest Control
- Keep lids tightly closed
- Avoid pouring liquids directly into the bin
- Rinse food containers before discarding
- Use enzyme-based cleaners or deodorizing products periodically
Bin Placement
- Place on level ground with drainage
- Avoid direct sunlight in extremely hot climates
- Ensure accessibility for routine cleaning
Consistent maintenance reduces long-term effort and ensures bins remain safe and hygienic.
Step 10: Handling Common Issues
Maggot Infestation
- Pour boiling water directly on maggots
- Scrub thoroughly with bleach or vinegar solution
- Allow the bin to dry completely
Persistent Odors
- Combine baking soda, vinegar, and soap for repeated treatments
- Use activated charcoal or enzyme cleaners for long-term odor removal
Stubborn Stains
- Apply a paste of baking soda and water
- Scrub after 15–20 minutes
- Pressure washers are effective for exterior stains
Environmental Considerations
- Avoid dumping bleach directly into soil or storm drains
- Use eco-friendly cleaners where possible
- Baking soda and vinegar are natural, safe, and effective
Step 11: DIY vs Professional Trash Bin Cleaning Services
While DIY cleaning is effective, professional services provide advantages:
- Deep cleaning with high-pressure equipment
- Eco-friendly and safe wastewater disposal
- Time-saving for households with multiple bins
- Regular maintenance schedules
Many homeowners benefit from a combination of DIY and professional cleaning for best results, especially for large or commercial bins.
Step 12: Long-Term Benefits of Regular Bin Cleaning
- Odor-Free Environment: Persistent smells are eliminated
- Health Protection: Reduces bacteria, mold, and viruses
- Pest Prevention: Minimizes attraction for insects and rodents
- Property Appearance: Maintains aesthetics and curb appeal
- Bin Longevity: Prevents corrosion and structural damage
- Peace of Mind: Ensures a clean, hygienic, and safe environment
Conclusion
DIY trash bin cleaning is an essential household task that goes beyond aesthetics. With proper tools, cleaning agents, and a structured approach, homeowners can maintain bins that are odor-free, pest-resistant, and hygienic. Regular cleaning prolongs the life of your bins, protects your family from health hazards, and enhances overall property appeal.
Whether you tackle bin cleaning yourself or occasionally hire professional services, the key is consistency. Incorporating bin maintenance into your routine ensures a safe and clean living environment while preventing serious sanitation problems in the long run. Don’t ignore your binsclean, sanitize, and maintain them to safeguard health, comfort, and hygiene in your home.
By dedicating a small amount of time each month, you can transform an often-overlooked chore into a simple and rewarding practice that contributes to a healthier, fresher, and more pleasant living space.
